
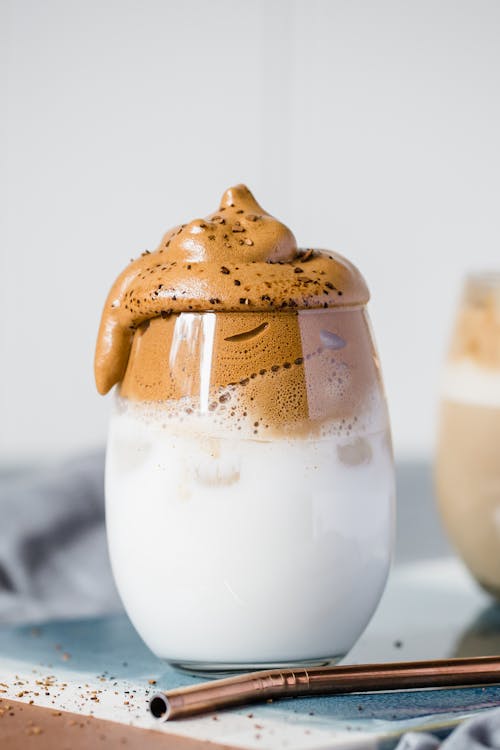
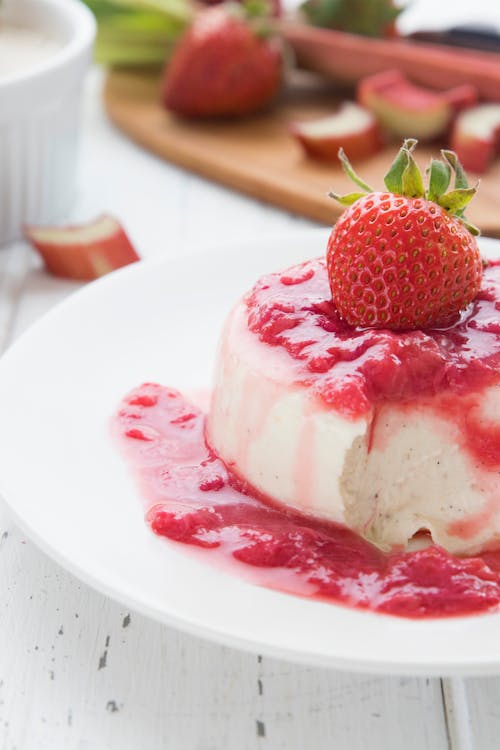
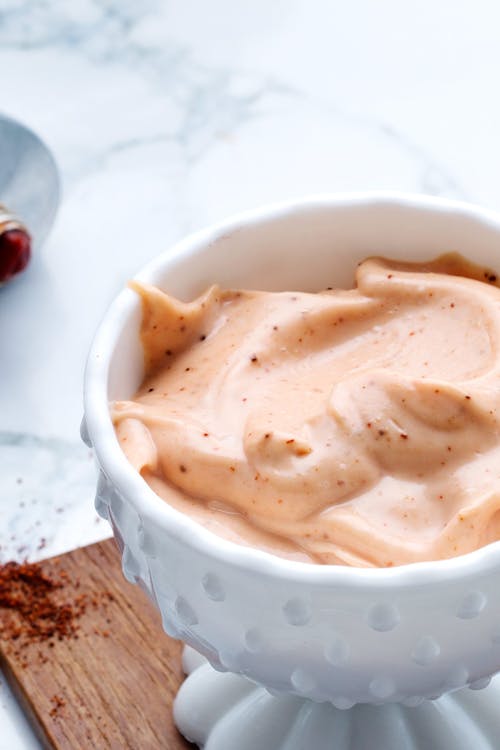
Low carb coconut Instant Pot yogurt
Ingredients
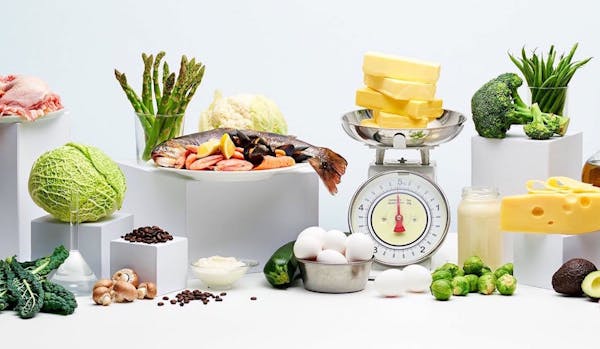
- 31⁄3 cups 800 ml coconut milk
- 2 tsp 2 tsp unflavored powdered gelatin or agar agar
- 1 tsp 1 tsp probiotic capsule, openedprobiotic capsules, opened

Instructions
- Sterilize all the instruments and inner pot before beginning by rinsing each with boiling water or use the sanitize function on a dishwasher. Place the cleaned, dry inner pot into the Instant Pot or other multi-cooker device.
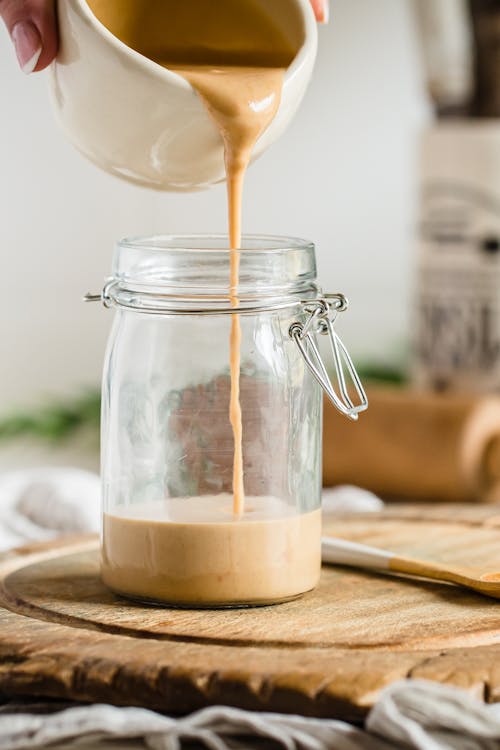
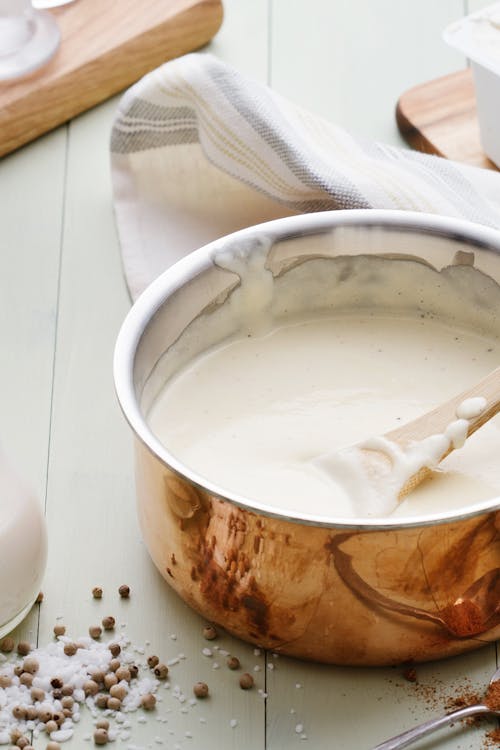
- Add half of the coconut milk to the Instant Pot. Consult the manufacturer's instructions for how to make yogurt in your appliance. Start by selecting the functions to make yogurt, which should begin by bringing the coconut milk to a boil. Use a thermometer to test that the mixture is brought to 140°F (60°C). End the boiling function and whisk in the agar agar (or gelatin) until no lumps remain.
- Add the remaining coconut milk and whisk. When the temperature falls in the range of 105-110°F (40-43°C), whisk in the probiotic powder (or your starter). It may take 25-30 minutes for the temperature to drop to this range.
- Seal the lid. Select 'yogurt' at medium pressure and set the time to 24:00. The Instant Pot will count up to the time that you set so that you will know exactly how long the yogurt has been incubating.
- After 12 hours, unseal and check the yogurt. If you prefer a tangier, thicker result, then continue to incubate for up to a further 12 hours. When the yogurt is finished, remove the lid and the inner pot with the yogurt in it. Whisk to smooth and pour the yogurt into a glass container. Refrigerate for at least 8 hours. The yogurt will thicken with refrigeration.
- The yogurt stores well in the fridge for around 7-10 days.
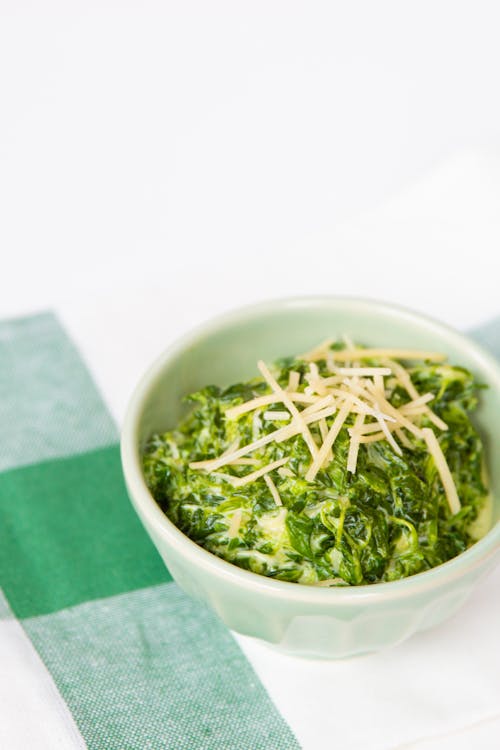
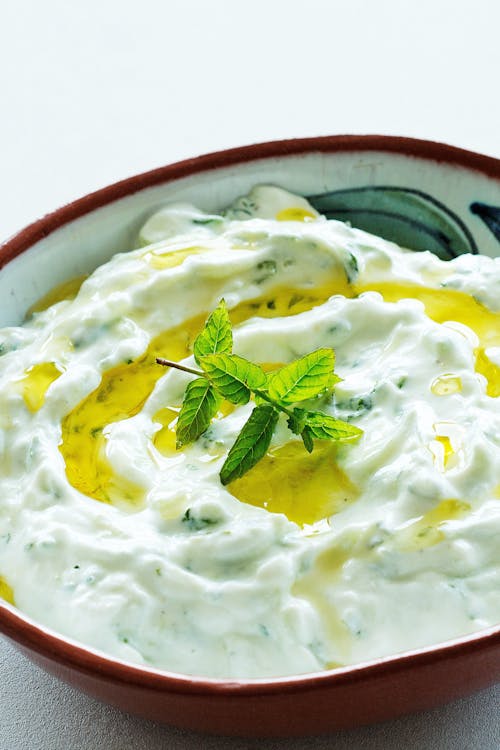
Serving suggestion
- Serve with fresh berries, nuts, and seeds.
Tips
Use an unsweetened coconut milk that contains a high-fat content and preferably no additives - we used coconut milk that was 60% coconut and water, with no additional additives.
For thicker, tangier yogurt, leave the yogurt to incubate for up to 24 hours. The yogurt will also thicken as it cools.
If your yogurt becomes lumpy or too thick, use a whisk or an immersion blender to remix it.
Add any additional flavor, such as vanilla extract, once the yogurt has been made.
A store-bought yogurt starter can be used instead of probiotic capsules/powder, but note that most of these contain milk.
Reserve 2 ounces (60 grams) of yogurt from your most recent batch to be used as a starter (at step 3) for the next batch.
Look for a probiotic powder that does not contain inulin or maltodextrin which can inhibit bacterial growth. Also, look for probiotics that contain Lactobacillus bulgaricus, Streprococcus thermophilus, Bifidobacterium lactis or Lactobacillus acidophilus or some combination.
How to increase the protein
If enjoying this yoghurt for breakfast we recommend increasing the protein for a more filling and nutritious meal.
If you tolerate dairy add 2 tbsp whey protein isolate per serving. Add some water for a runnier consistency if needed.
If you don't eat dairy products, eat a couple of eggs on the side.


Why would you need to heat the coconut milk to 140F? There's no protein to be denatured. Canned coconut milk has already been heated and sterilized--see https://www.sciencedirect.com/topics/agricultural-and-biological-scie... "Since coconut milk (pH ≈ 6) is considered a low-acid food, it is necessary that the canning process is performed in a retort above 100 °C, before cooling and labeling (Timmins and Kramer, 1977; Gonzalez, 1990; Arumughan et al., 1993). Aseptic processing may also be applied for production of ultra high temperature (UHT) coconut milk."
I've made "cold start" yogurt many times with great success. I simply put the canned coconut milk in the instant pot with the culture (my favorite method is to put it all in a jar, then put the jar in the covered pot, no water necessary, no extra clean up!). I add the bloomed and slightly melted gelatin afterward and it thickens in the fridge.